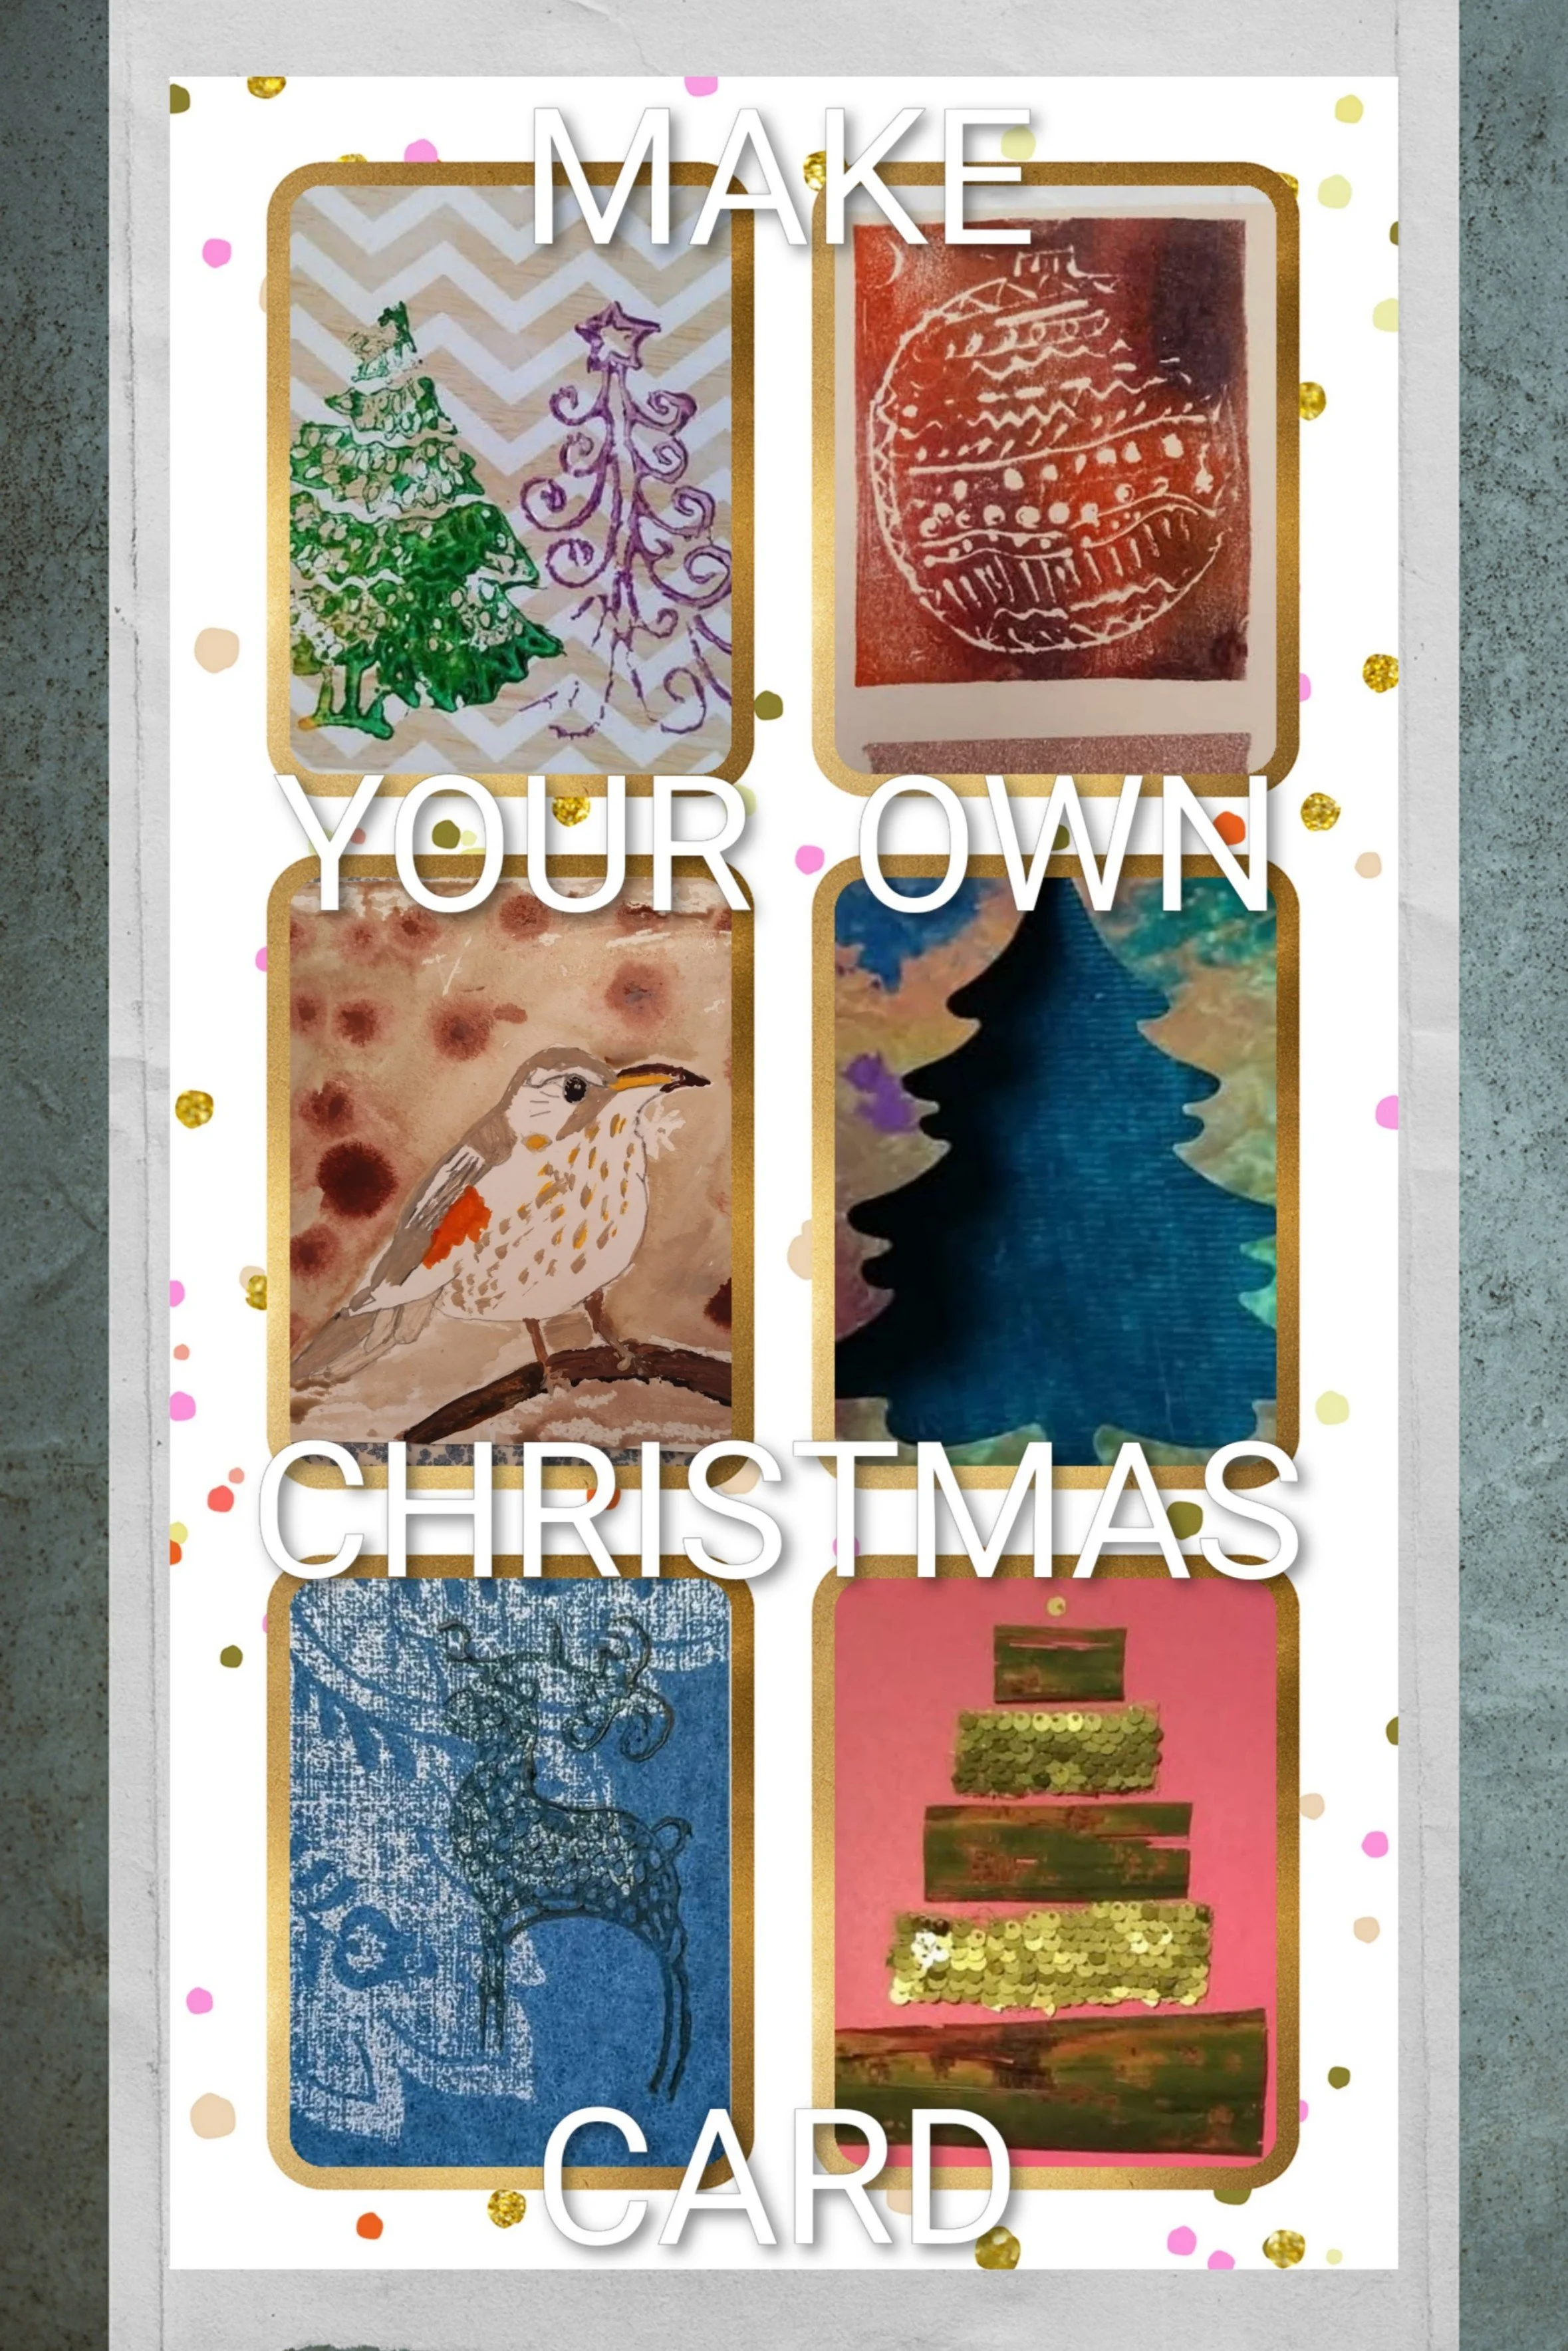
In this tab, I present a gallery of photos of Christmas cards, handmade with friends and their children, during my workshops and individual lessons with students.
I encourage you to make your own Christmas cards. We did a lot last week, using recycled materials: papers, fabric scraps, dried leaves, even onion skins.
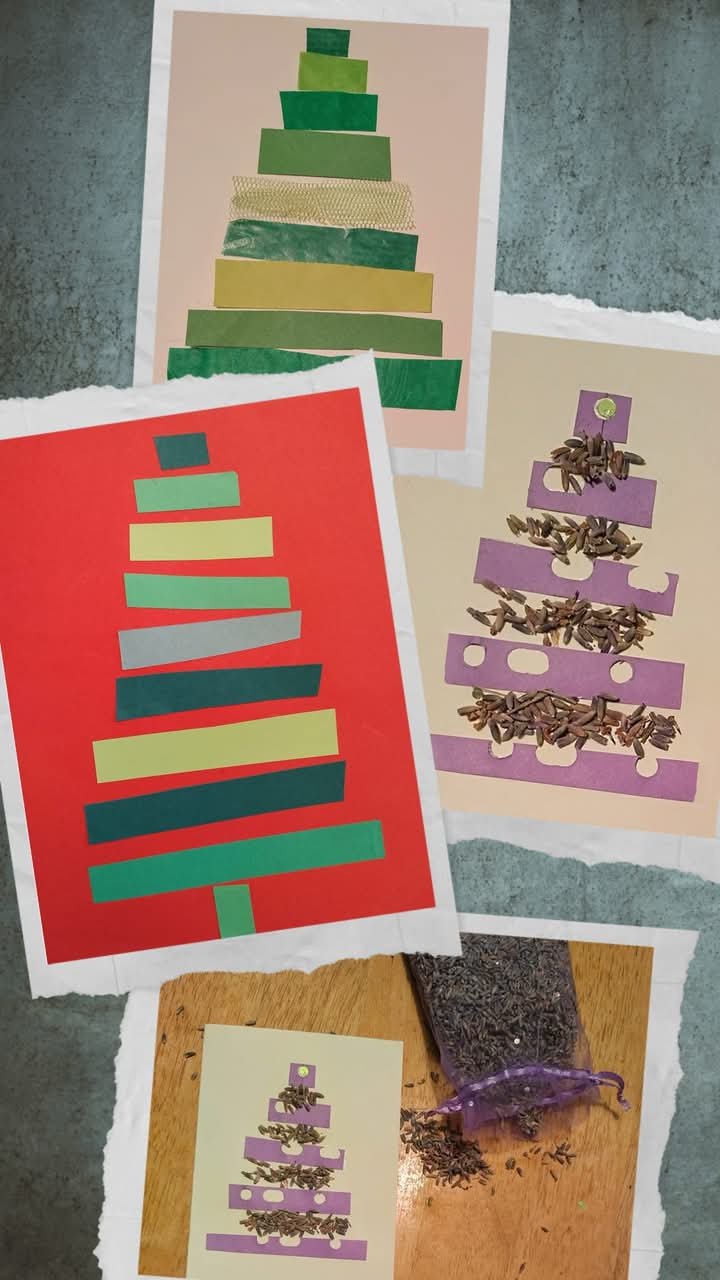
The red one is made by one of my students, using green stripes of papers. And the scented lavender one was invented by my friend.
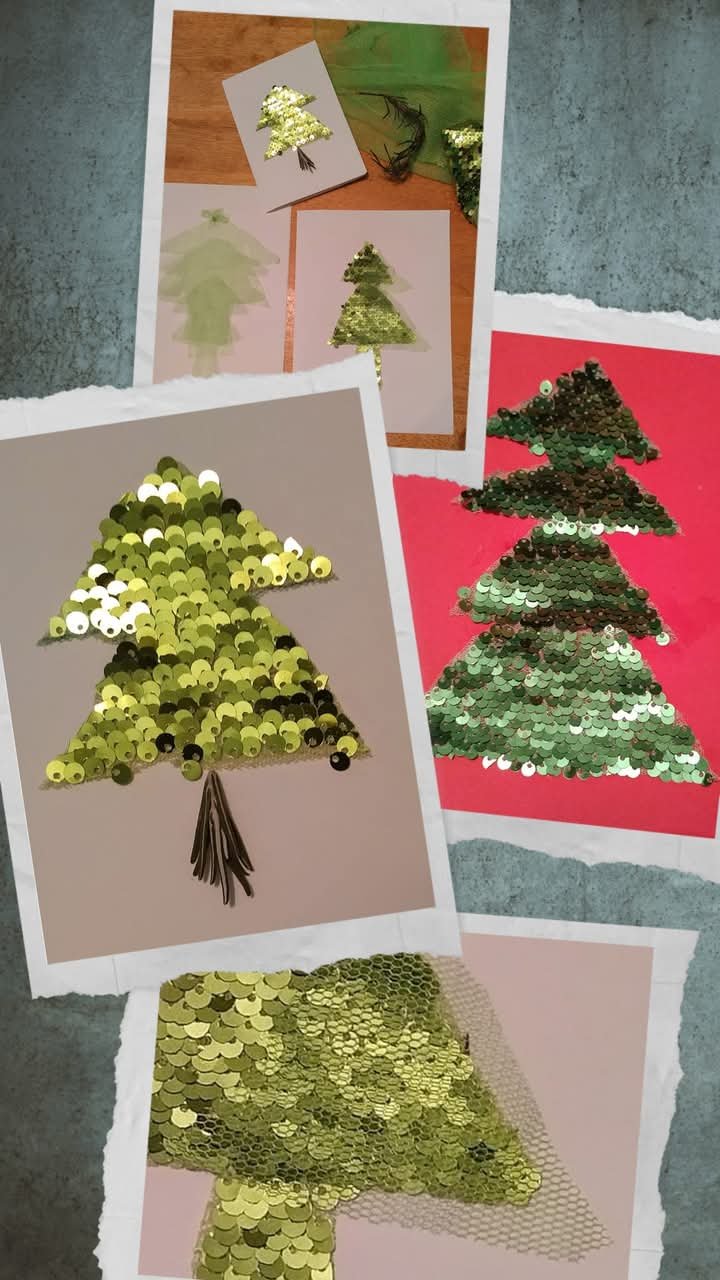
Simple in shape and rich in texture: sequins and tulle. And rosemary stump.
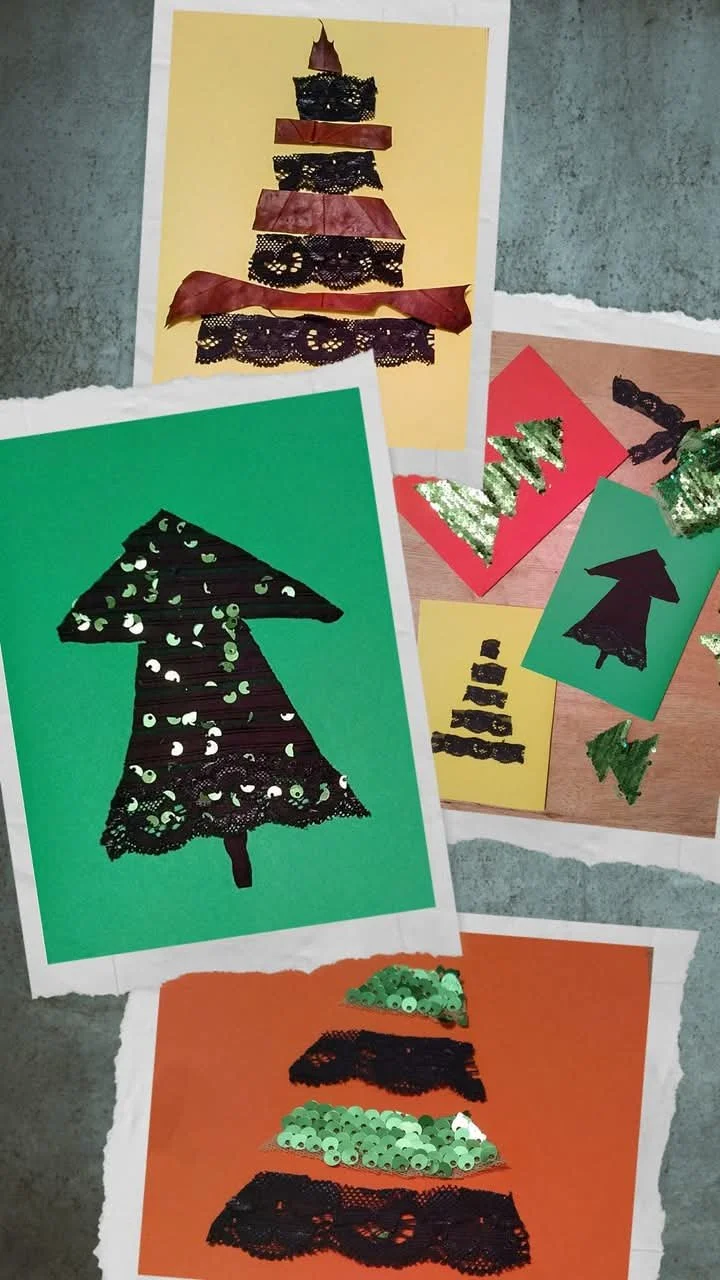
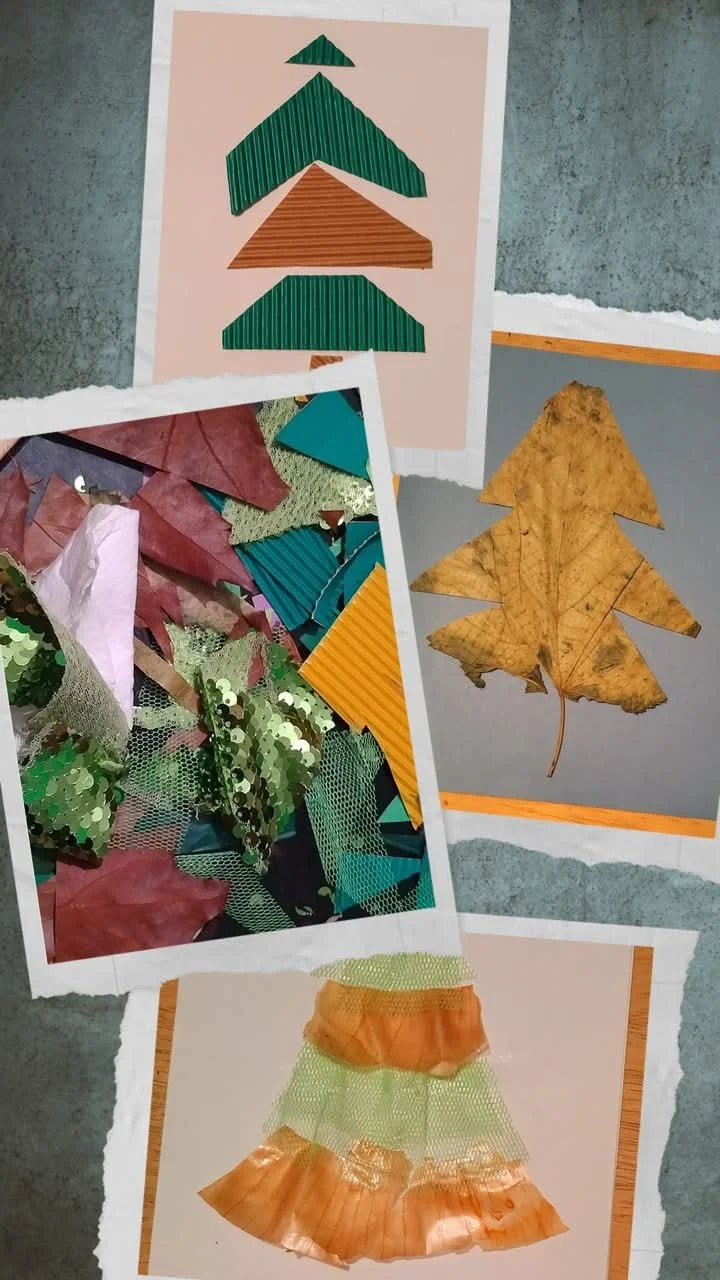
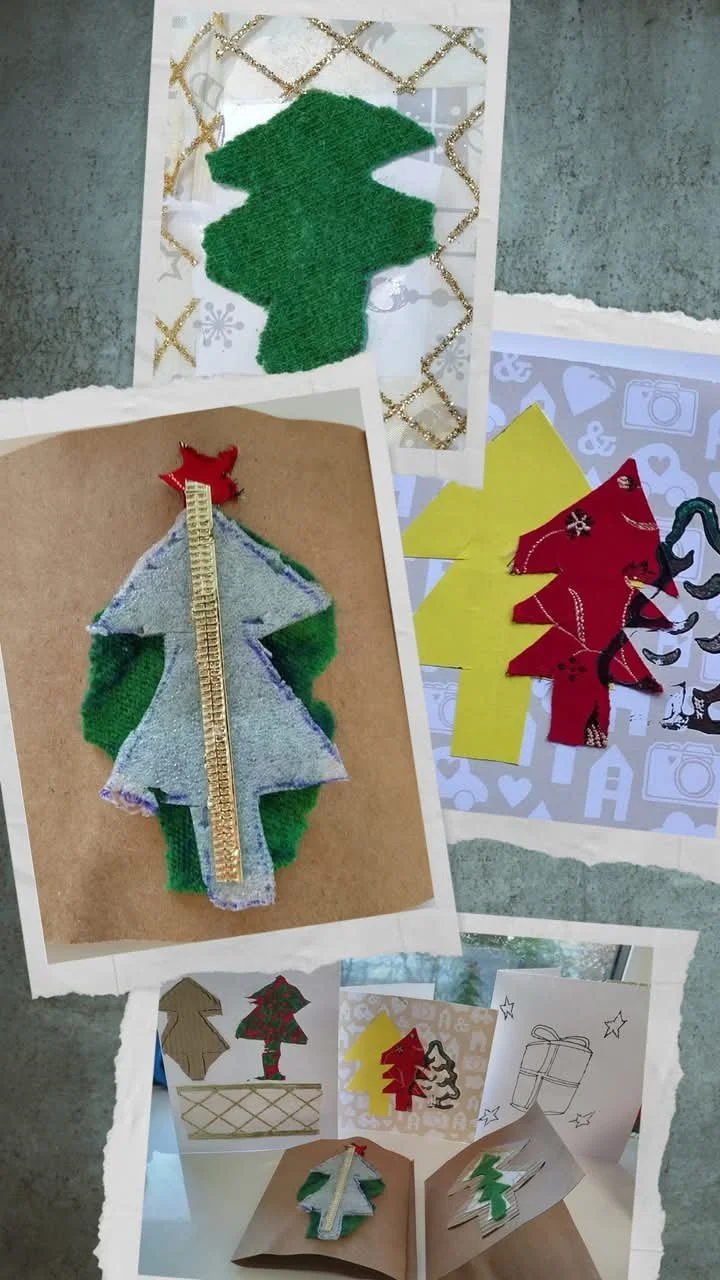
Fabric scraps with various textures: sequins and lace. Plus organic texture, such as dry leaves that I always collect in the fall, and stuff into books.

One of my student’s cards using his own made marbled paper and collaging magazine clippings.
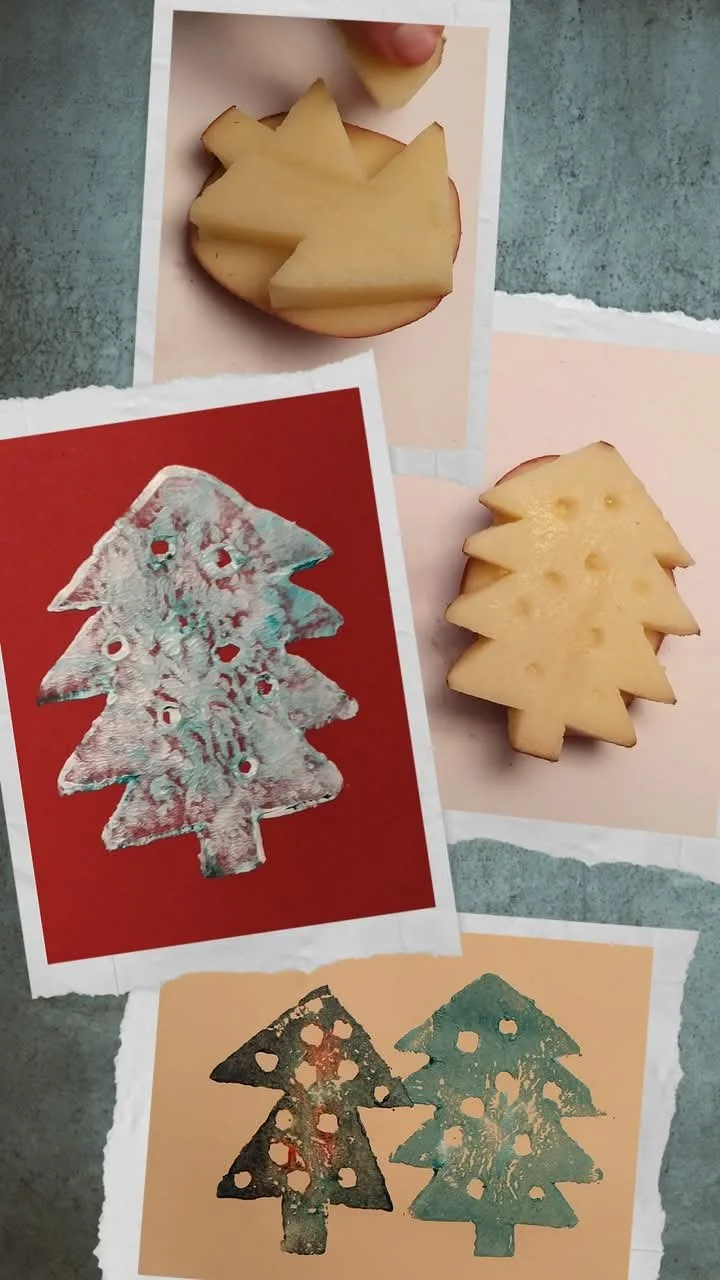
My student just learned how to cut potato stamps. Then all you need is a tray and acrylic paint.
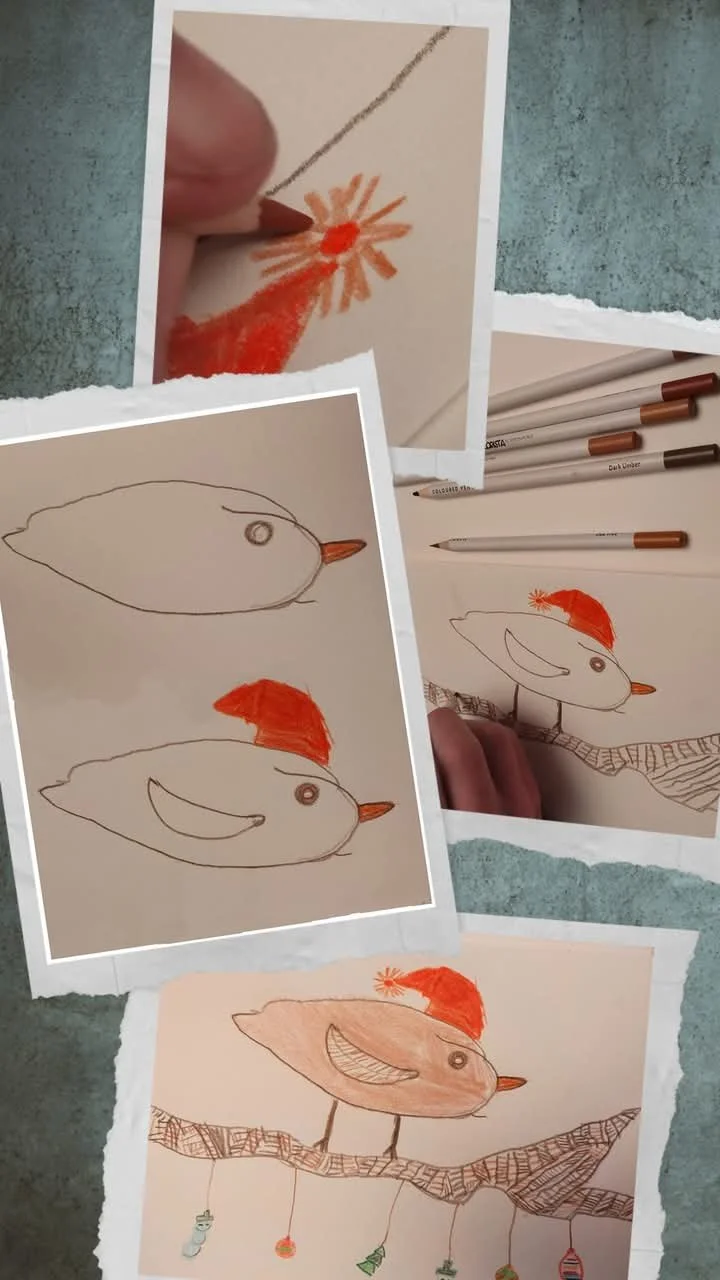
This boy loves art, he enjoys practicing drawing, and the teacher's job is to use the language of lines and shapes so that the student learns to draw on his own, without pictures from the Internet.

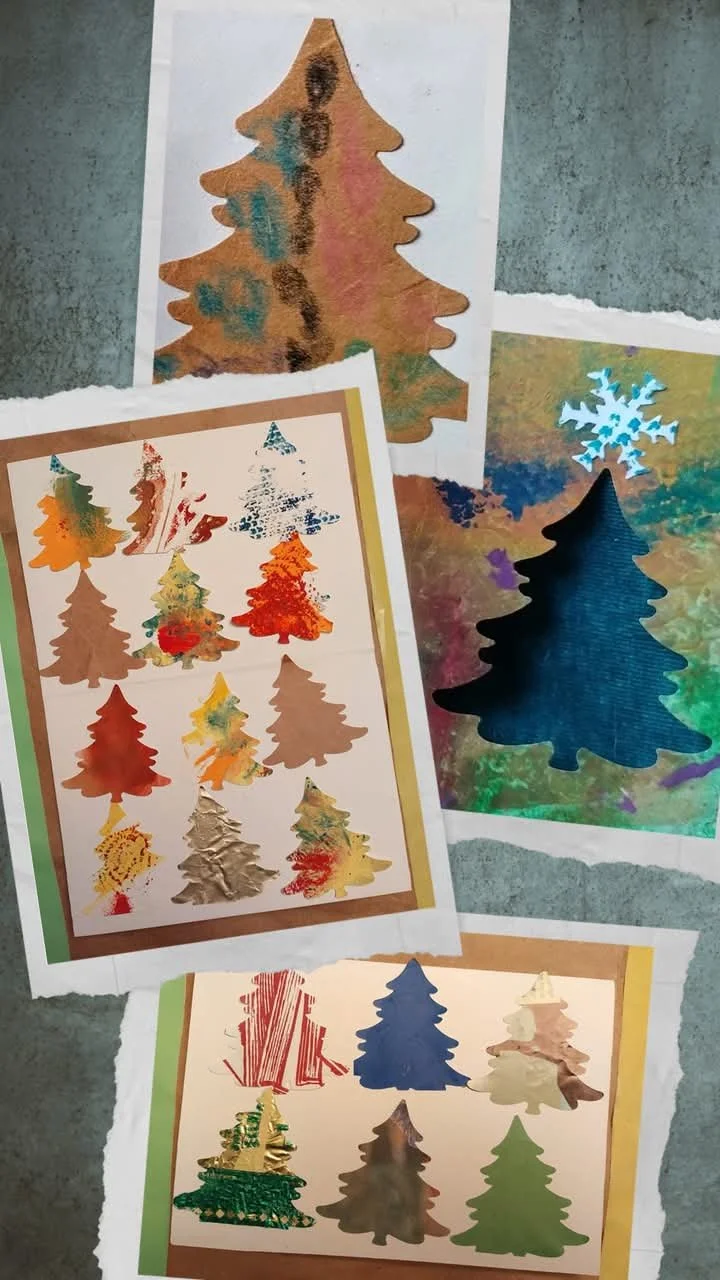
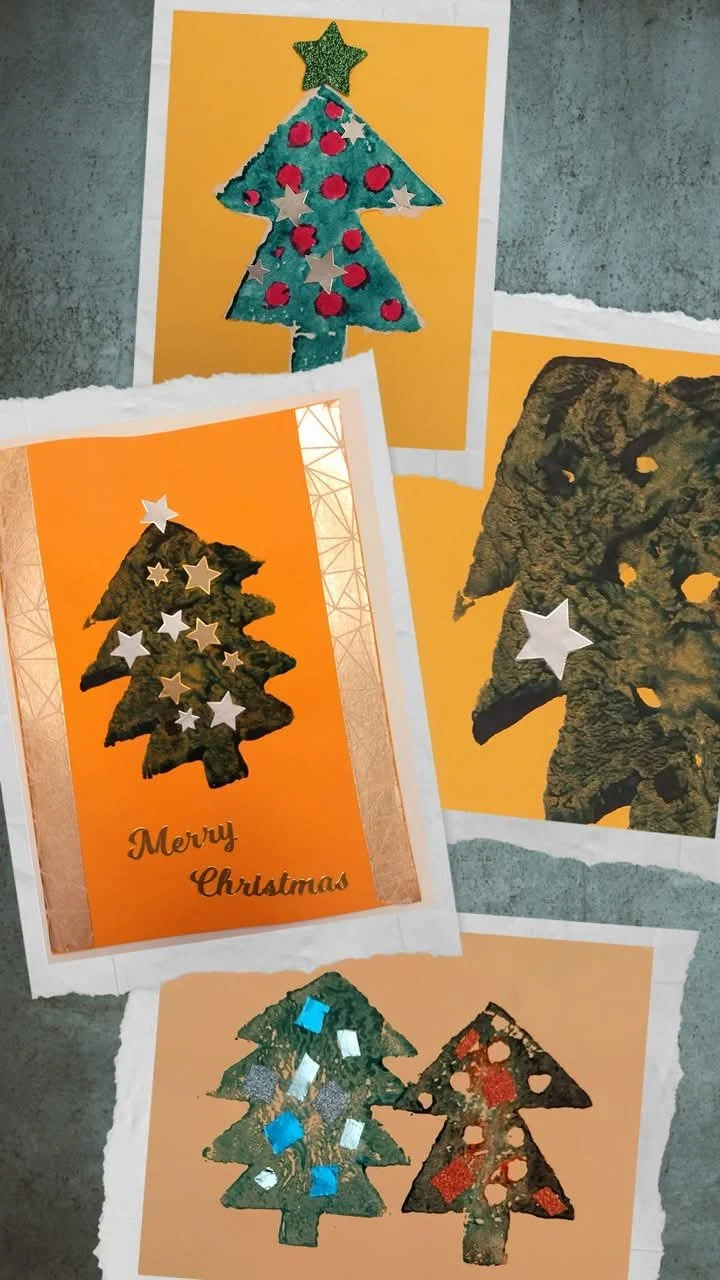
First we 'monoprinted' different leaves for texture, and then kids had fun finding & cutting the Christmas tree shapes out of them.
We got a craft puncher and cut out plenty shapes from all the scraps of papers we had left. The most important thing is fun and the joy of making.
The shape of the Christmas tree can be cut by folding the paper in half, symmetry is guaranteed.
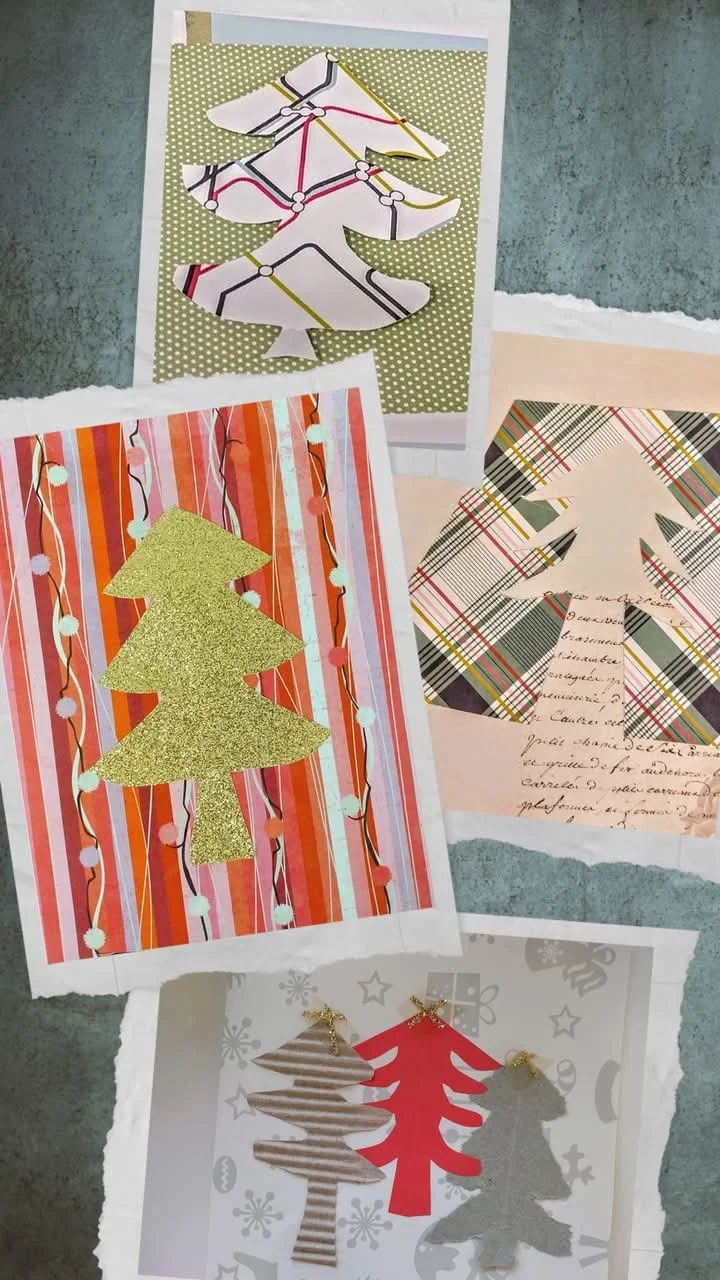
You can play with shapes and patterns, all you need is craft paper, also recycled, from last year's Christmas wrappings. Yes, I keep them, mountains of paper, every year! A map of the London Underground comes handy too.
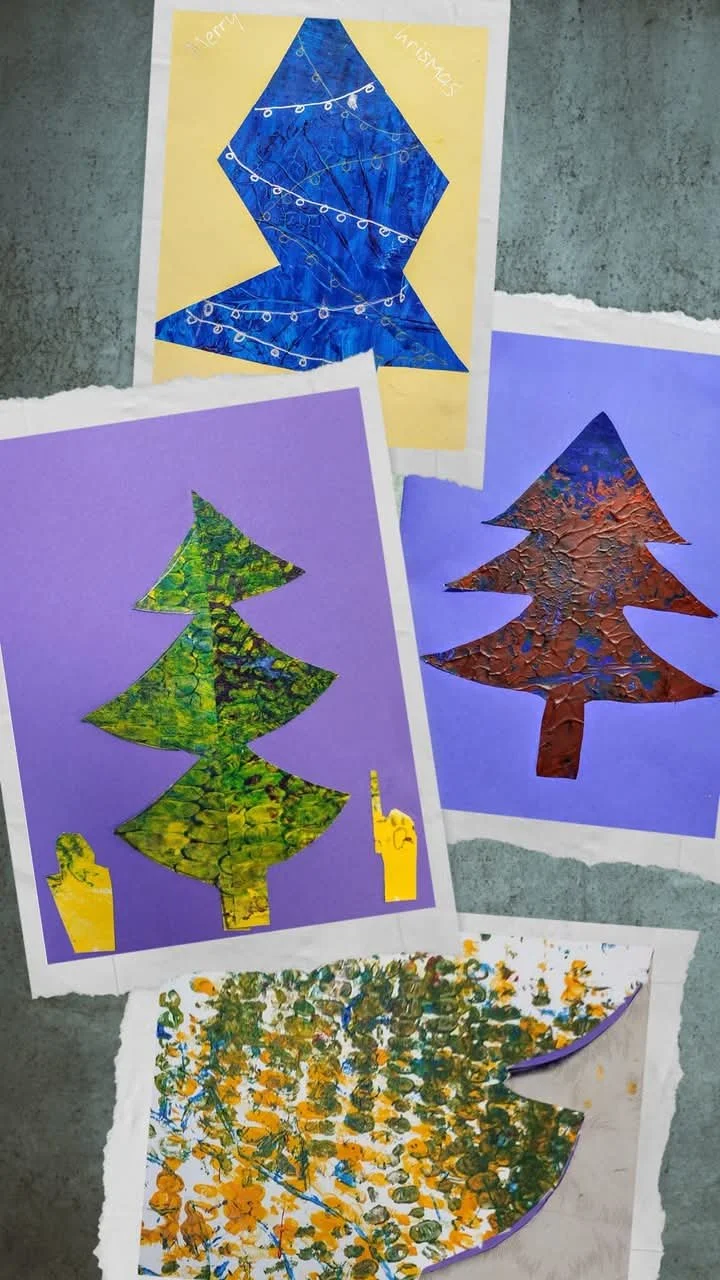
Simple geometric Christmas trees are chunky enough to carry the weight of the texture: imprinting a cabbage leaf or rolling a corn cob.
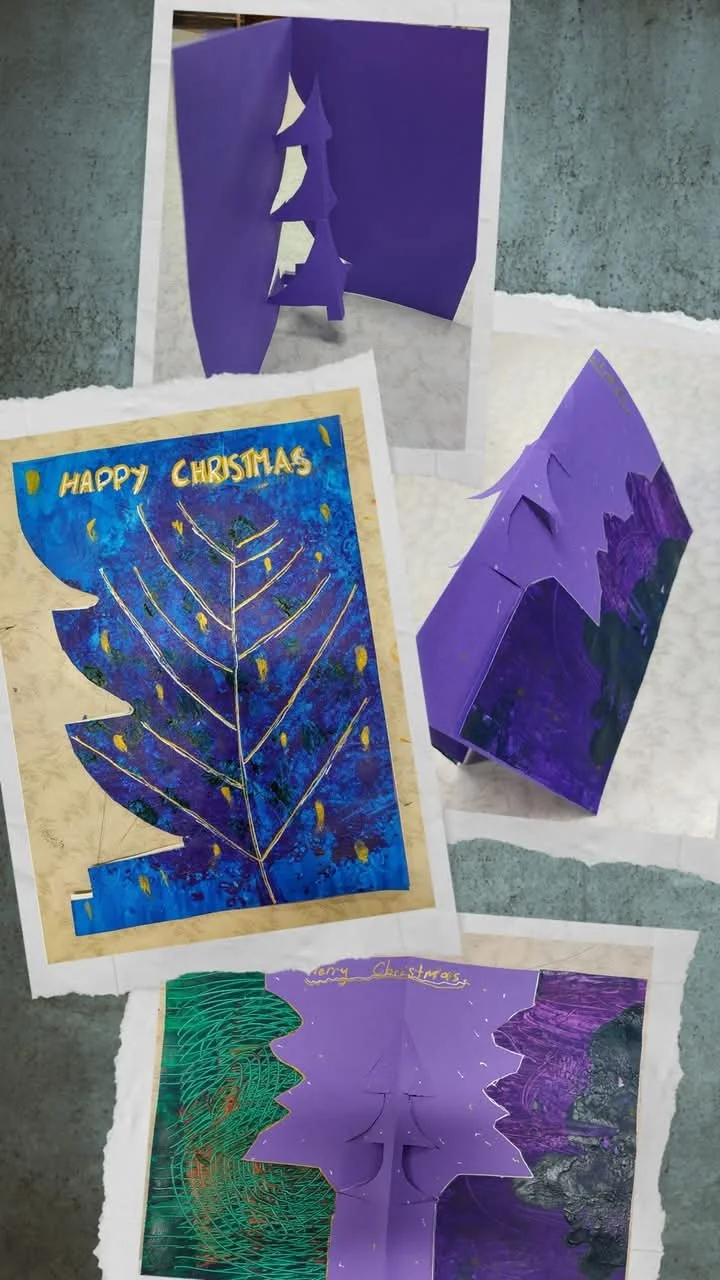
Sometimes there will be a brilliant student in the group who will come up with 3D Christmas structures on his own.
It's difficult for children to cut out shapes, especially fabric. I don't do it for them, I give them time, I let them make mistakes, draw conclusions and improve - this is a learning process I reward.
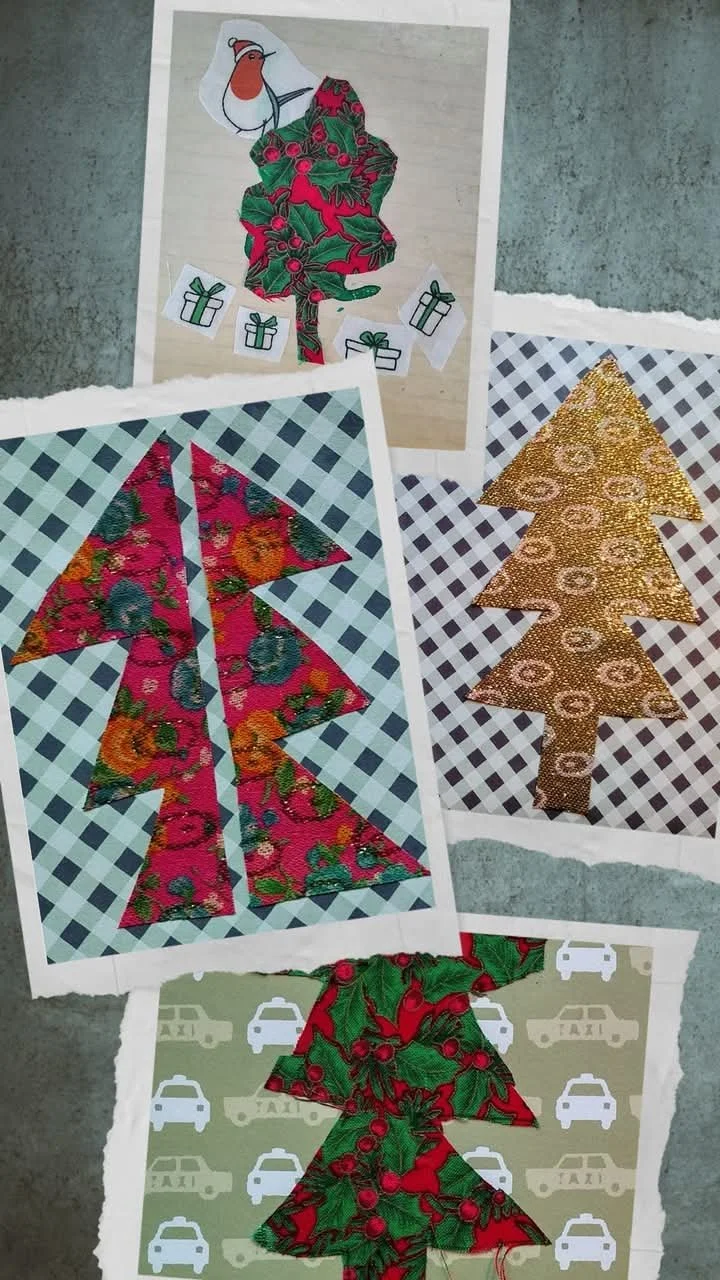
I often sew, and then I throw fabric scraps into the box. Then I dig out those precious before Christmas. Noble patterned wools, silks, metallic or embossed jacquards.

Sometimes I don't need large fabric scraps. I made these cards from tiny scraps of glitter knitwear and from taffeta in antique blush colours.
If you remember potato stamps (No 7), you can leave them in their beautiful simplicity or decorate/paint them with a vivid colour or metallic stickers.
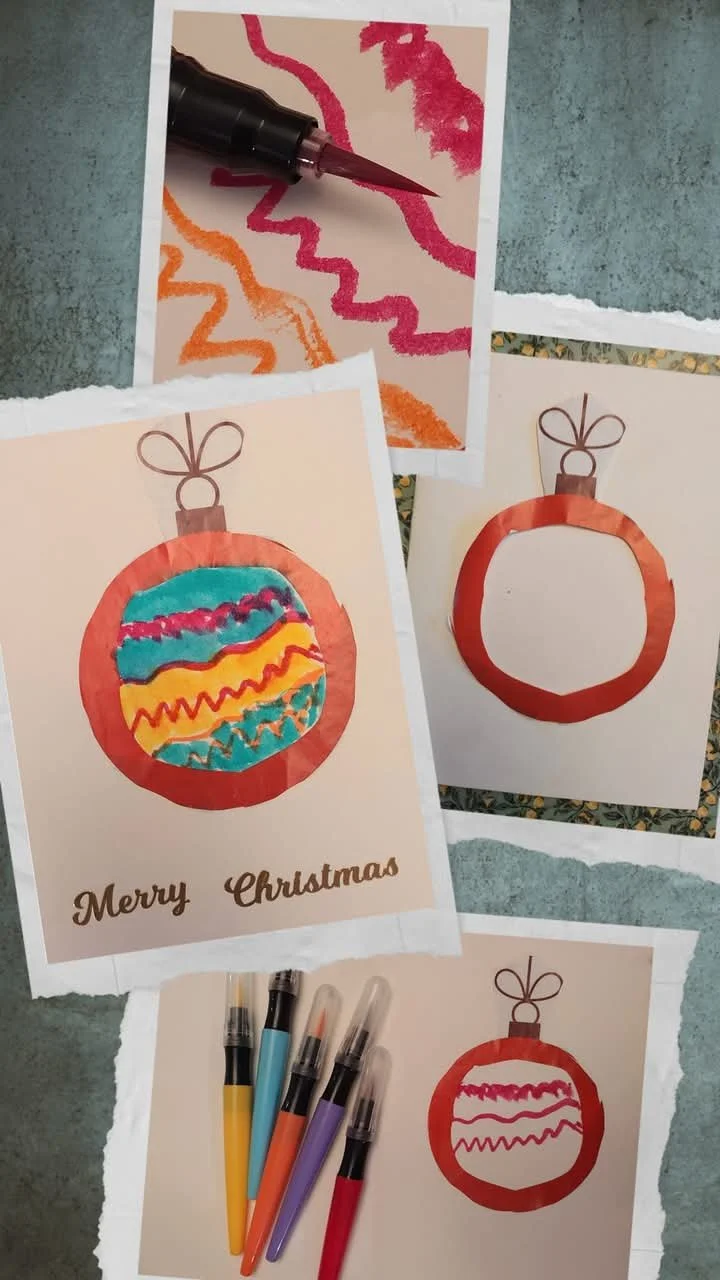
Christmas Geometry. Moving from the triangles in the Christmas tree to the circles of baubles. The circle was cut out from a magazine, glued on, then inside he painted patterns with water markers - using different lines he just learned: zig-zag, scallop, wavy.
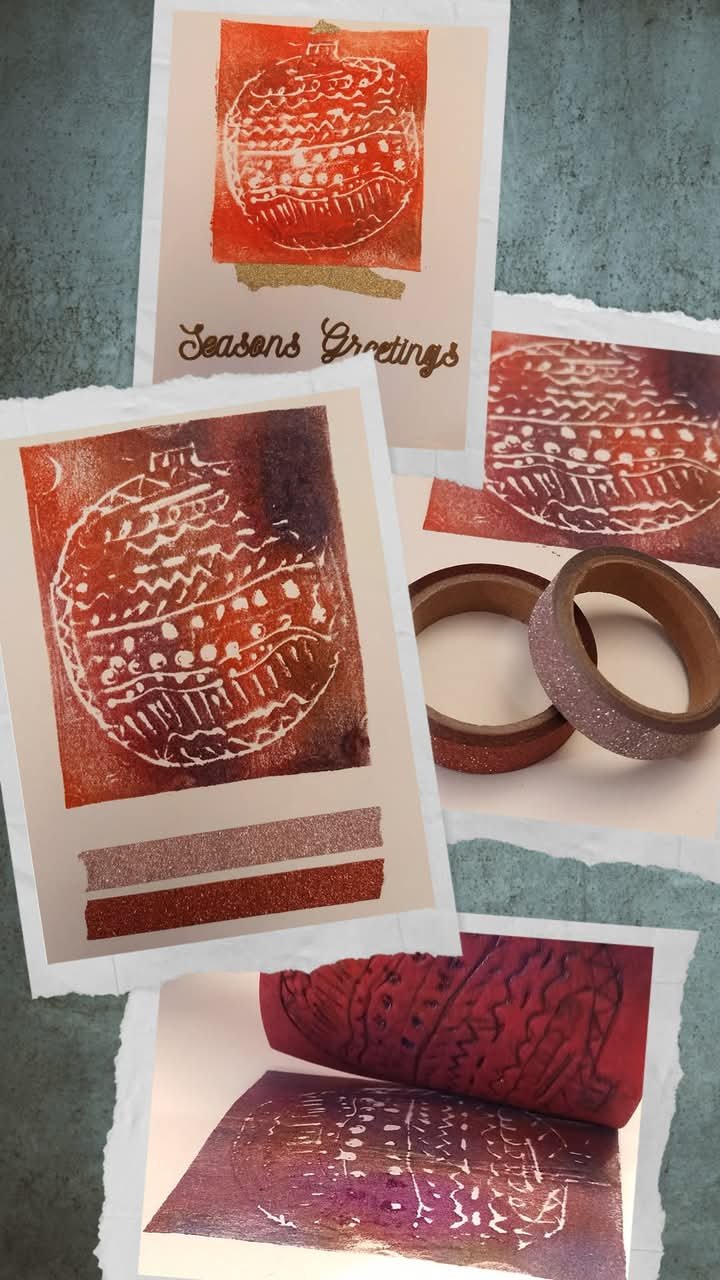
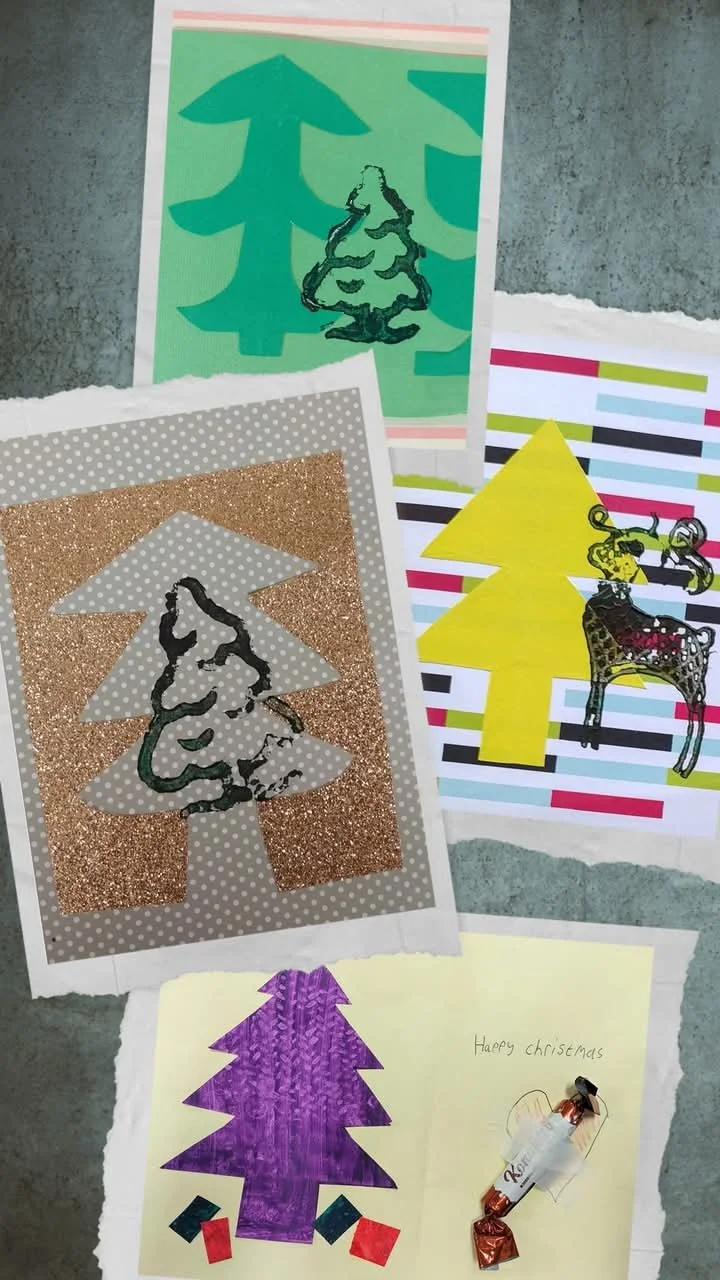
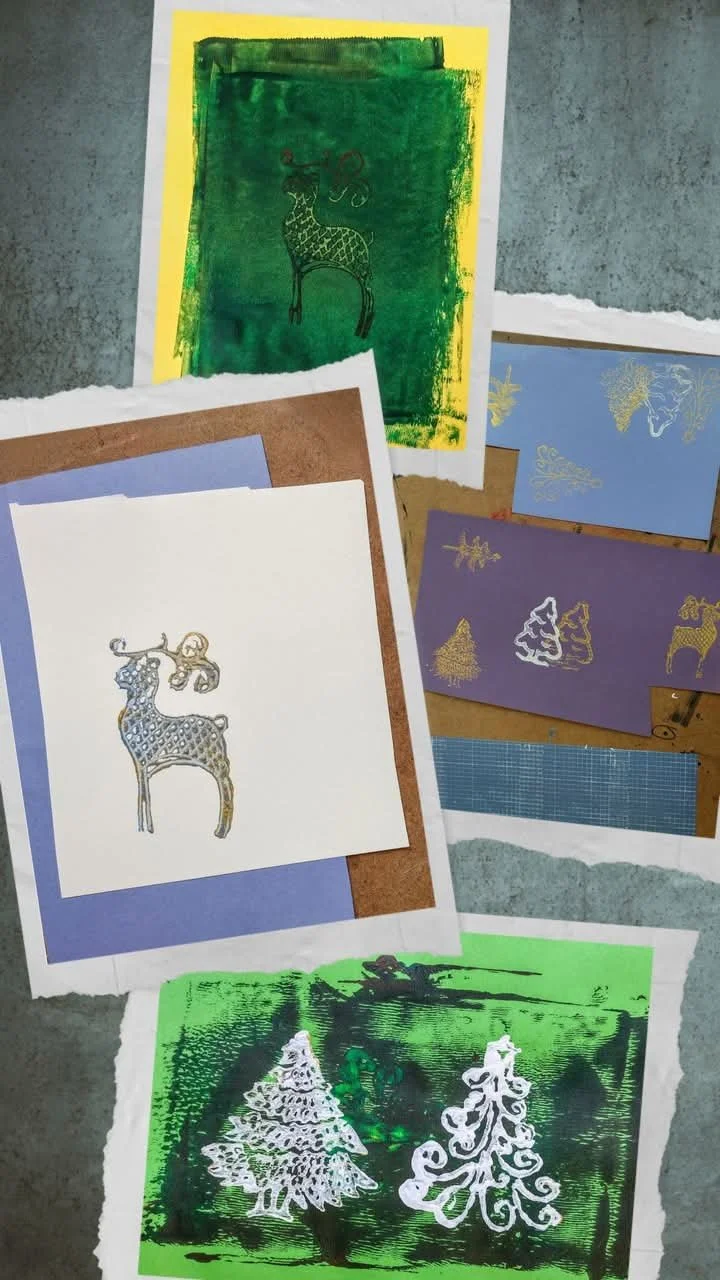
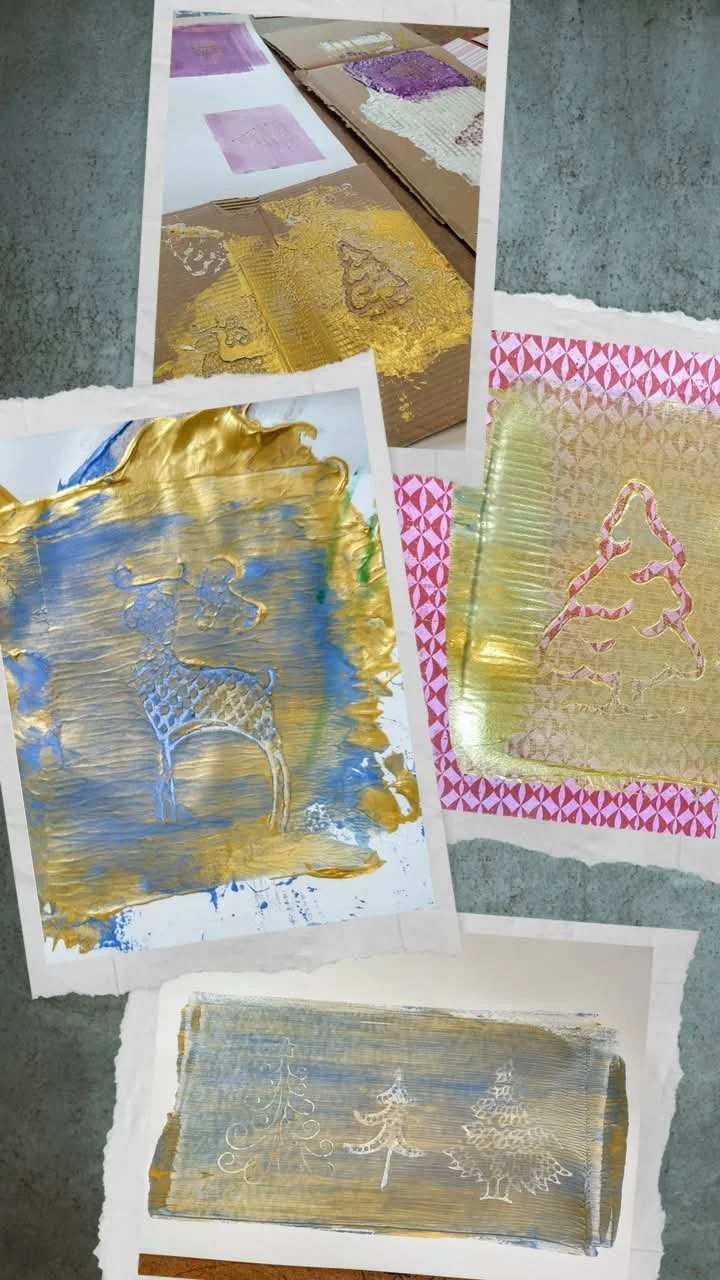
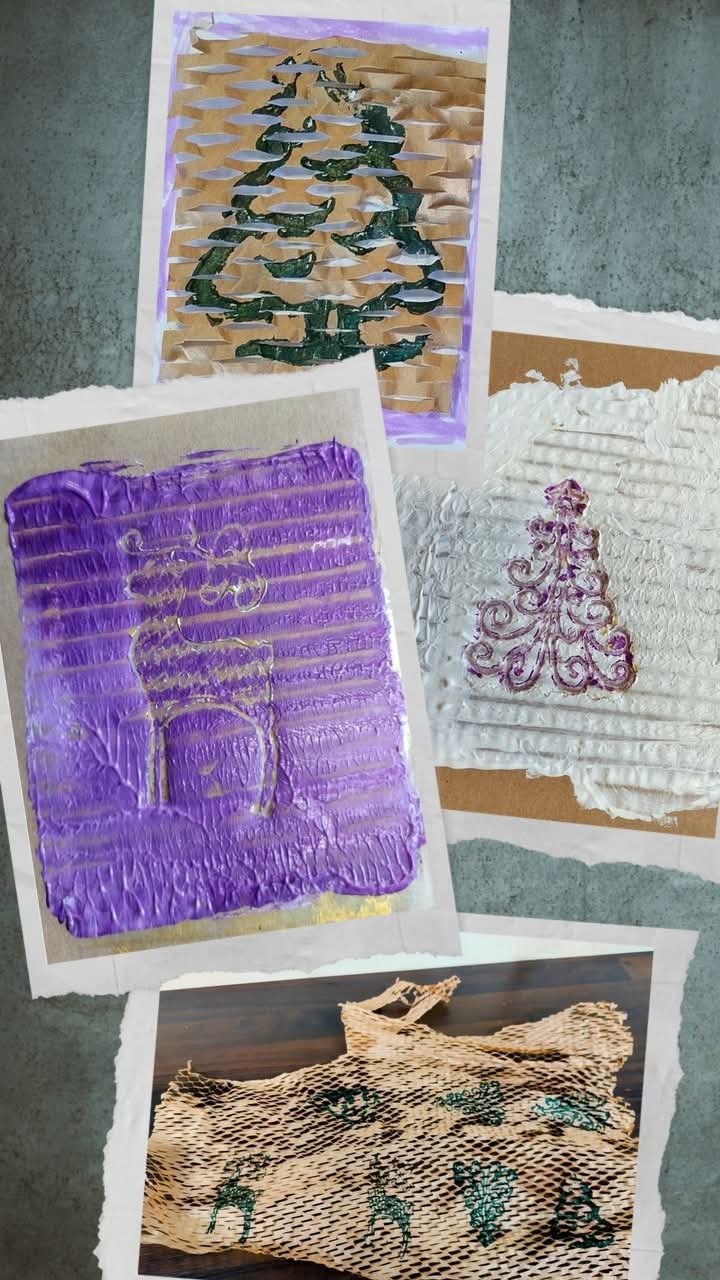
This technique is a substitute for linocut, it's cheap and doesn't require cutting tools, thus it's safe. My student drew lines on the foam sheet with an ordinary pen - pressing harder to create grooves (lines). Then he applied paint and stamped the image on paper. The foam/ stencil can be used multiple times, changing colours.

Wooden stamps, acrylic paints, recycled and craft paper. The shapes and patterns are endless, you can produce many cards quite quickly.

Using fancy stamps during workshops is not an easy task - it's time to practice the principles of design: balance, rhythm, harmony. I encourage participants to play with shape, colour, change of direction and quantity, and to collage.

Repetition and multiplication is quite a strong factor in design. It's also very playful.
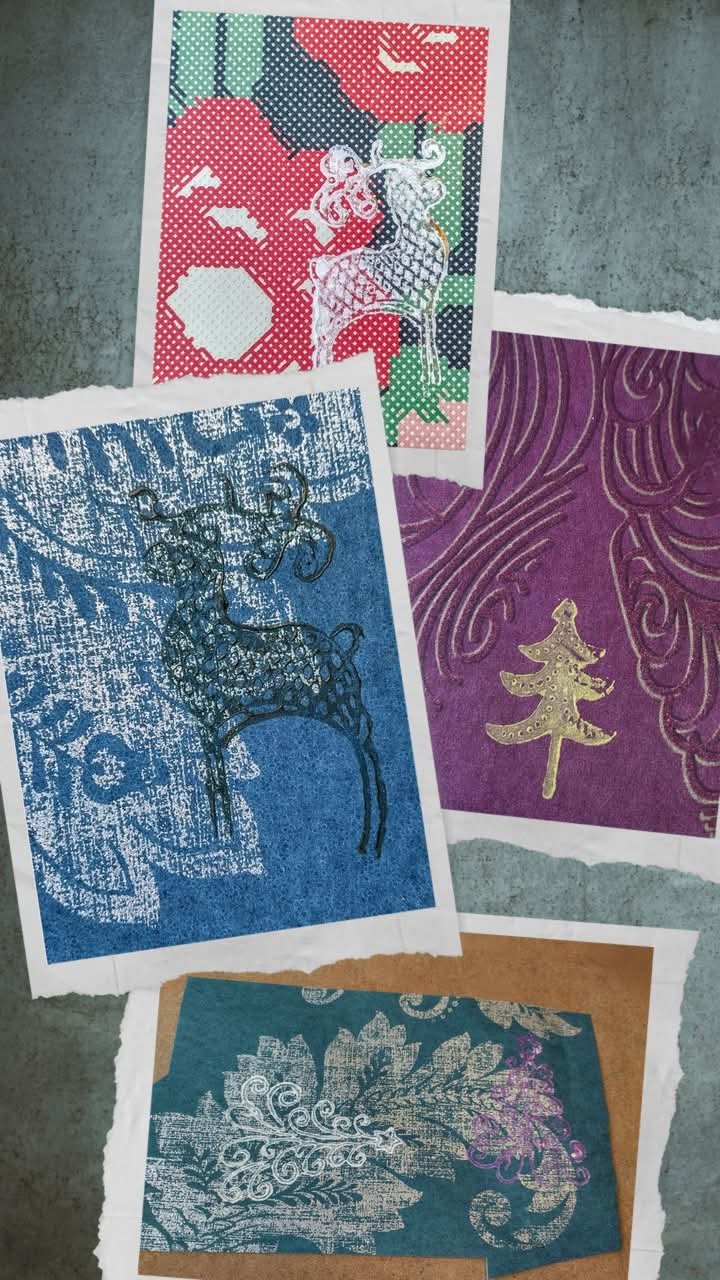
For these stamps I liked to use paper that has depth and texture; embossed, grosgrain or velvet, like wallpaper. The paint takes a long time to dry, but it's worth the wait.
Sometimes a simple card made on plain recycled paper gives beautiful results.
I like experimenting with texture by layering colours.
Then I get carried away by experimenting, I try everything that is within my reach. For me art is about the process.

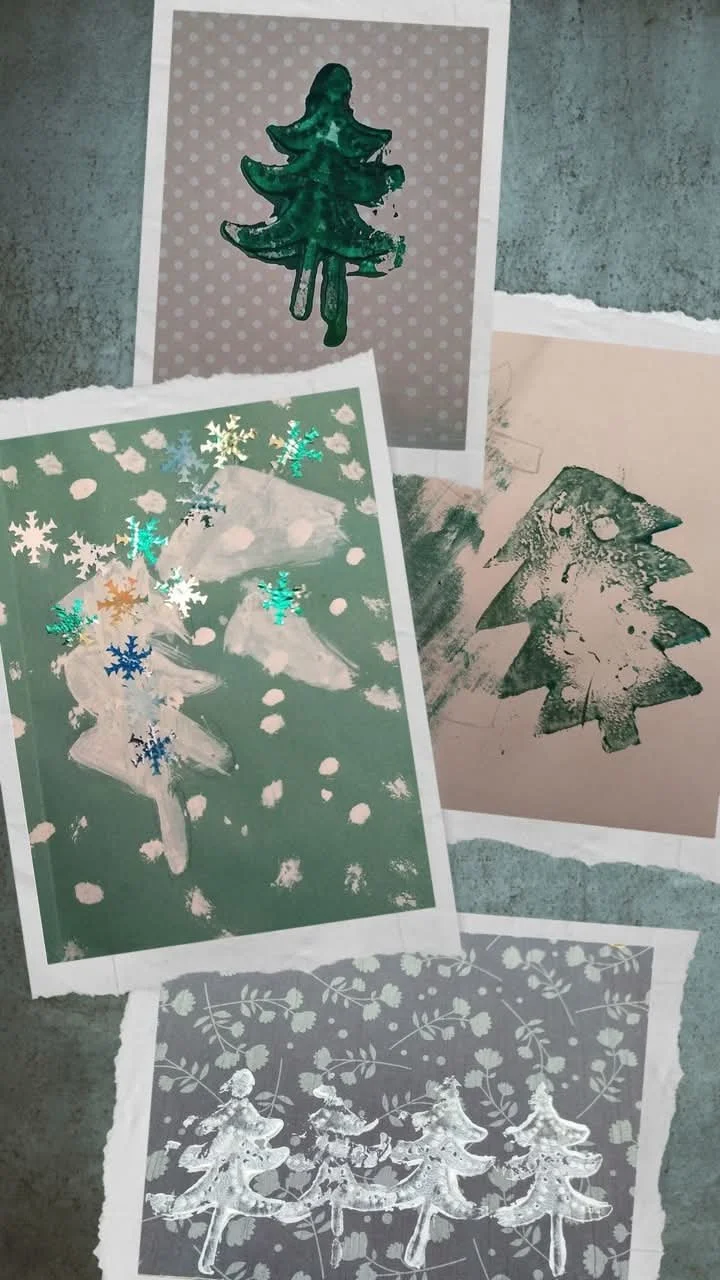
This hole puncher cuts out patters, perfect to decorate the edge of the card. But I covered the entire image with holes, like the one with robin. Then, I applied it on metallic glitter paper. Using the remaining confetti - we glued them into a Christmas tree shape.
...and this is an edition of testing samples and unsuccessful cards. Did I write unsuccessful? These are the most valuable because thanks to them we learn.

Cards made with friends and made for friends. I love combining organic elements with textiles. Long leaves from the garden and haberdashery ribbons from my basket of sewing scraps.